

Create a reflection in Photoshop
Very simple tutorial which I find extremely handy when you want to spruce up a creation. In this tutorial, let's take a look at how you can create realistic looking reflections using Photoshop.
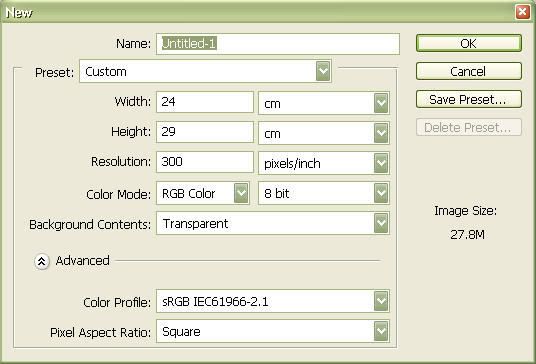
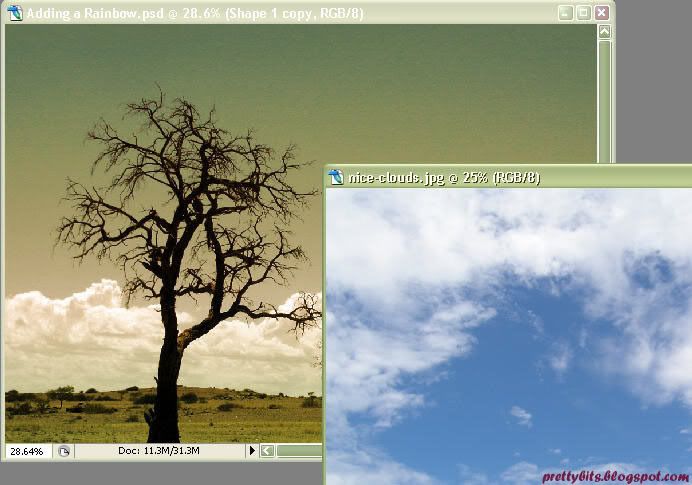
Step 1: Choose a starting image
- In my case, I chose to use a text design of PrettyBits. Other choices include landscape, buildings, and even objects.
 Step 2: Duplicate your image
- Duplicate your image by selecting Image > Duplicate.
- Flip you duplicated image by selecting Edit > Transform > Flip Vertical.
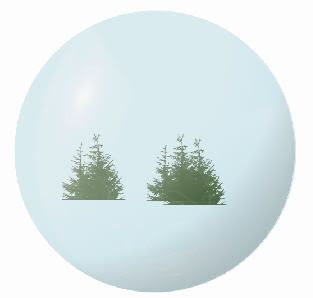
- Position the reflection below the original image using the Move tool or by pressing V.

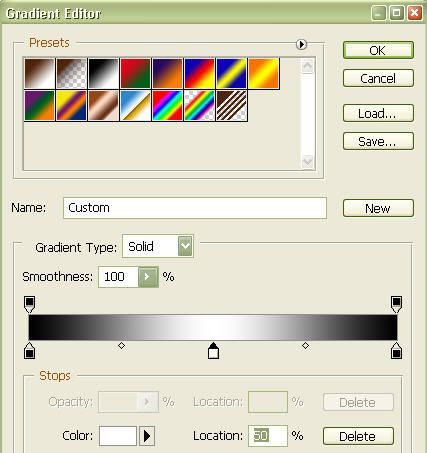
- Select the gradient tool and add a gradient to the reflection by drawing a line from top to bottom of the image. You should then get something like that.
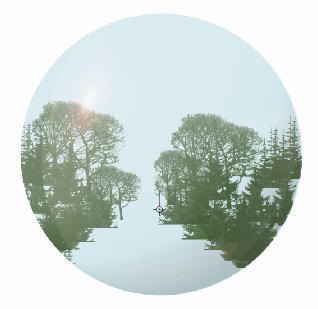
 Step 4: Adding perspective to the reflection
- Select the gradient tool and add a gradient to the reflection by drawing a line from top to bottom of the image. You should then get something like that.
 Step 5: Final touch
- Make your reflection more realistic by reducing the Opacity of the layer. There is no hard and fast rule as to how much the Opacity should be, it is really up to you. Play around with the Opacity and see what works for you.
 In this tutorial, I have only shown you the basics of creating a reflection. You may want to explore other types of possible reflections, like in water, horizon, mirror and even sunglasses. Armed with Photoshop and a few good photos, you'll no longer need to hope for a rainy day to capture some good photos of things reflected in water. Once you start to work with reflections, you'll never look at things quite the same way again. I'm even willing to bet that you'll also find yourself analyzing how reflections occur in nature, so you can improve on your digital versions.
Hope you enjoyed this tutorial.
Related Posts:
Loading..
![]()
![]()
![]()
![]()
![]()
![]()
![]()